← Cartae · Deutsch | English | Español | Italiano
Printable Lenormand Cards
To go with the Lenormand books by Driftware. Download the cards here for free and turn them into a card set, picture on the front, card back on the reverse. It takes about half an hour. You need a printer or a copy shop.
Open this page on a computer (not on a phone). Printing and copying to a USB stick are easiest there.
Which way suits you?
Pick the way that suits you and click it. You only need to read that one way.
Way 1: Copy shop
Download the file
Click the blue button. The file contains all cards, fronts and backs, already in the right order.
Download the cardsall cards, front and back · PDF, 13.4 MBCopy it to a USB stick
Put the USB stick into your computer and drag the downloaded file LenormandBothSides.pdf onto it. Then take the stick with you.
Tip: email the file to yourself as well. If the stick fails, you still have it on your phone.
Tell the copy shop
Say exactly this in the shop (or show it on your phone):
“Please print this file in colour on A4, double-sided, flip on the long edge, on card stock of 200 to 250 gsm, at actual size. Then please cut it to size.”
For 6 sheets this usually costs just a few euros.
Done
Shuffle the cards as described in the book. Enjoy them.
Way 2: Printer with automatic double-sided printing
Download the file
One file, everything inside: fronts and backs already alternate.
Download the cardsall cards, front and back · PDF, 13.4 MBOpen the file and choose “Print”
Set this:
| Paper size | A4 (or US Letter, then scale to 100 %, see note below) |
| Scale | 100 % or “Actual size”. Not “Fit to page”. |
| Colour | Colour (not black and white) |
| Quality | High or “Photo” |
| Double-sided | Yes. Both sides of the sheet are printed. |
| Flip | On the long edge. Depending on the program this reads “Long-edge binding” (Mac) or “Flip on long edge” (Windows). |
A test sheet first
Print only pages 1 and 2 (that is one sheet, front and back). Hold it up to the light. Do the backs sit exactly behind the cards? Then print the rest. If not, read the “By hand” way further down.
Good to know
- Colour laser printer: best ★★★. Sharp, nothing smudges.
- Print shop or copy shop: very good ★★★. Take the file along on a USB stick.
- Inkjet printer: works ★. The ink can smudge. Let the sheets dry for at least an hour after printing, then spray them with fixative or clear varnish (test on a scrap first).
- Paper: best is card stock, 200 to 250 gsm (your printer manual says whether it can handle that). Otherwise print on normal paper and have it mounted on card at a copy shop.
Cut out
Around every card there are small lines in the margins (crop marks). Cut so that you no longer see the lines.
- Easiest: a paper trimmer. A copy shop will gladly cut the cards for you.
- With scissors: first cut the sheets into strips, then cut every strip into single cards.
- Each card is then 6.2 × 9.6 cm (about 2.4 × 3.8 in).
Done
Shuffle the cards as described in the book. Enjoy them.
Way 3: Printer that prints one side only (turn the sheets yourself)
Download the files
You need four files, one after the other. They just download to your computer, nothing is printed yet.
A · Test print FRONT1 page, on plain paper first · PDF, 34 KBB · Test print BACK1 page, printed after turning the sheet · PDF, 34 KBC · Cards FRONT6 sheets with the pictures · PDF, 13.0 MBD · Cards BACK6 sheets with the card back · PDF, 443 KBTest print: find out how your printer turns the paper
Every printer feeds paper differently. This test print saves you from wasting card stock.
- Load plain paper and print file A (Test print FRONT).
- Take the sheet out and turn it over like a book page (left to right, see picture). Put it back in exactly the way it was before.
- Now print file B (Test print BACK).
Hold the sheet up to the light. Do you see:
✓ BACK reads the right way up (arrow pointing up) and the two A marks sit behind each other
Perfect. For the card backs use file D · Cards BACK, which you have already downloaded.
✗ BACK is upside down
No problem. Download this file, it exists for exactly this case, and use it instead of D:
D2 · Cards BACK, rotated6 sheets, only if BACK was upside down · PDF, 455 KBRemember how you loaded the sheet. You will do exactly the same with the cards.
Print the cards: sheet by sheet
Now on card stock (or the paper you want to use). Always one sheet at a time:
- Open C · Cards FRONT, choose “Pages: 1” in the print dialog and print.
- Take the sheet out, turn it over as in the test print and load it the same way.
- Open D · Cards BACK (or D2), choose “Pages: 1” and print. The first sheet is done, front and back.
- Do the same with page 2, then page 3, then page 4 and so on up to page 6.
| Paper size | A4 (or US Letter, then scale to 100 %, see note below) |
| Scale | 100 % or “Actual size”. Not “Fit to page”. |
| Colour | Colour (not black and white) |
| Quality | High or “Photo” |
At the top of every sheet it says “Sheet 1 of 6” and “Front” or “Back”. That keeps you oriented, and the margin is cut off later.
Faster: you can print all fronts first and then turn the whole stack over. Make sure sheet 1 is fed first when printing the backs. If you are unsure, stay with sheet by sheet.
What to print on
- Colour laser printer: best ★★★. Sharp, nothing smudges.
- Print shop or copy shop: very good ★★★. Take the file along on a USB stick.
- Inkjet printer: works ★. The ink can smudge. Let the sheets dry for at least an hour after printing, then spray them with fixative or clear varnish (test on a scrap first).
- Paper: best is card stock, 200 to 250 gsm (your printer manual says whether it can handle that). Otherwise print on normal paper and have it mounted on card at a copy shop.
Cut out
Around every card there are small lines in the margins (crop marks). Cut so that you no longer see the lines.
- Easiest: a paper trimmer. A copy shop will gladly cut the cards for you.
- With scissors: first cut the sheets into strips, then cut every strip into single cards.
- Each card is then 6.2 × 9.6 cm (about 2.4 × 3.8 in).
Done
Shuffle the cards as described in the book. Enjoy them.
The cards in these files
36 cards: the complete Lenormand deck, from the Rider to the Cross.
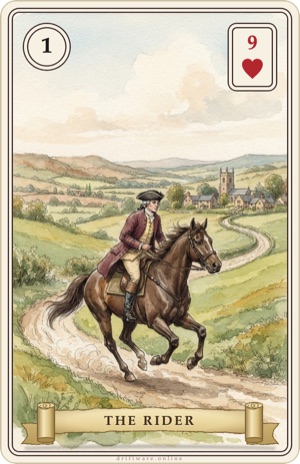
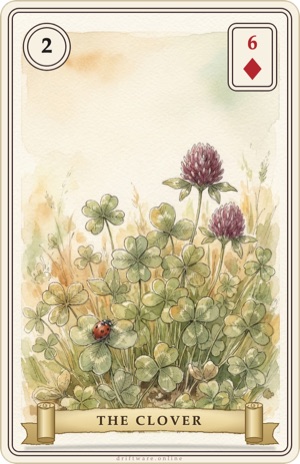
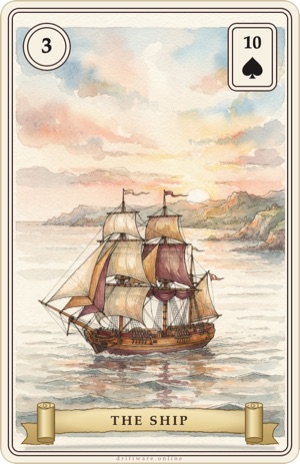
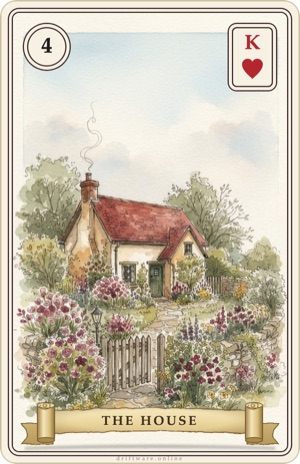
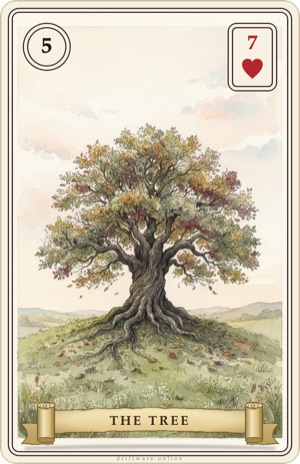
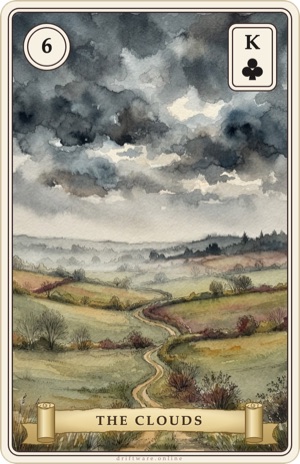
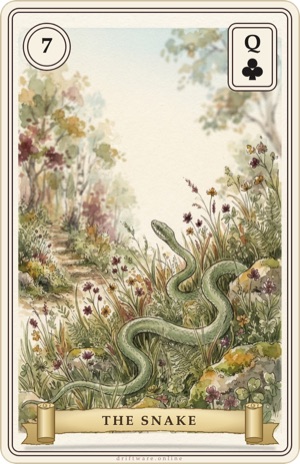
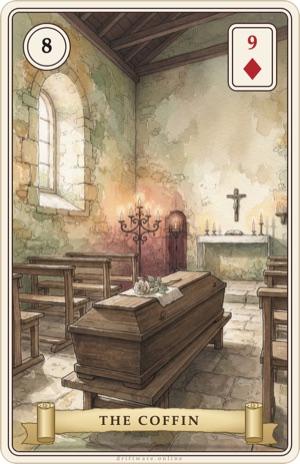
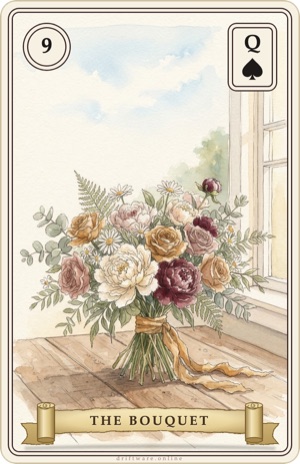
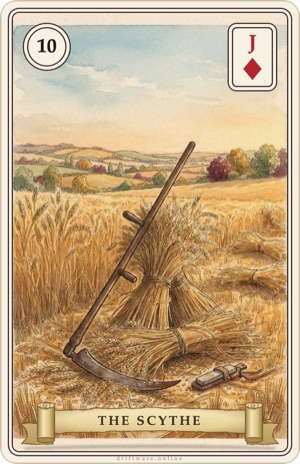
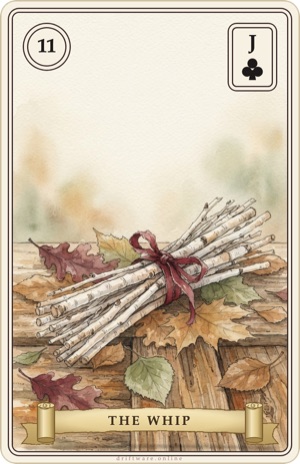
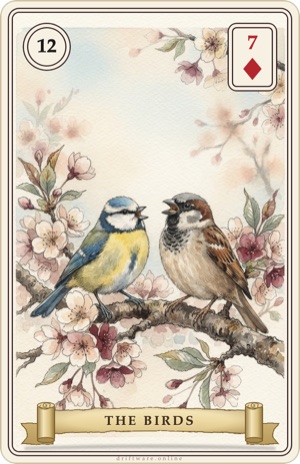
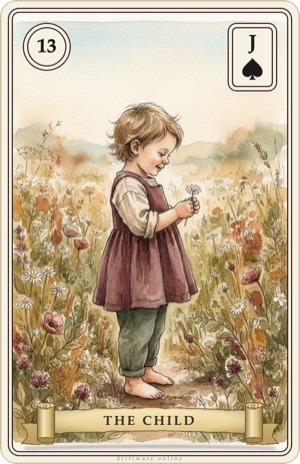
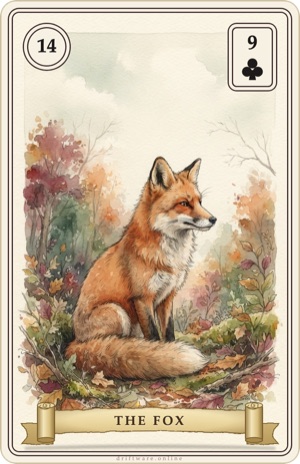
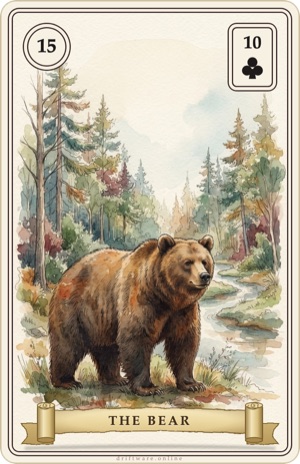
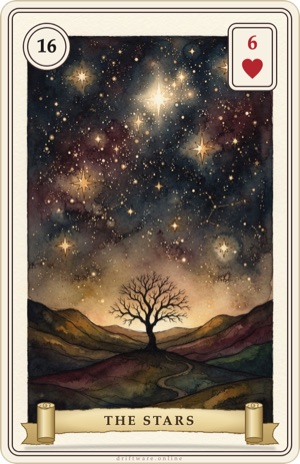
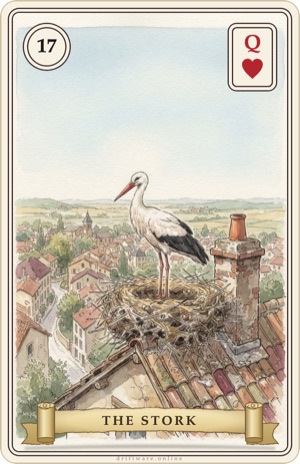
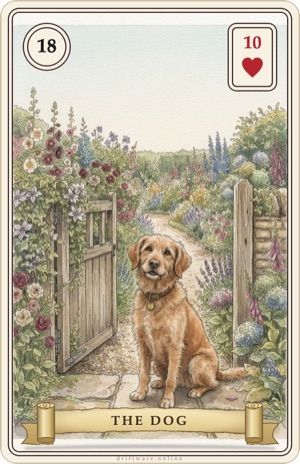
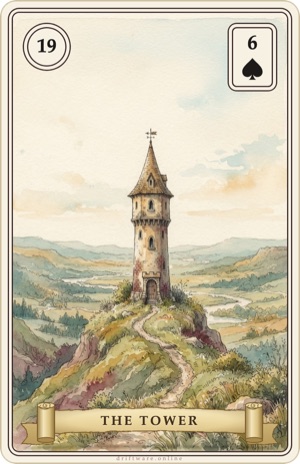
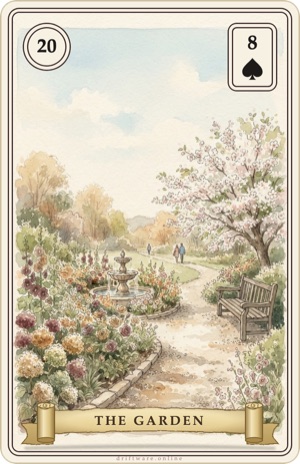
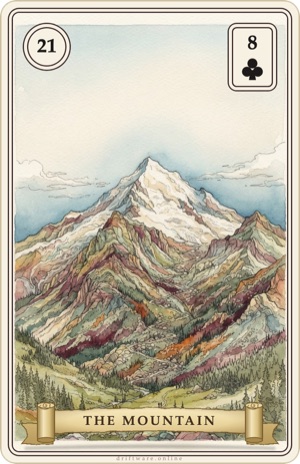
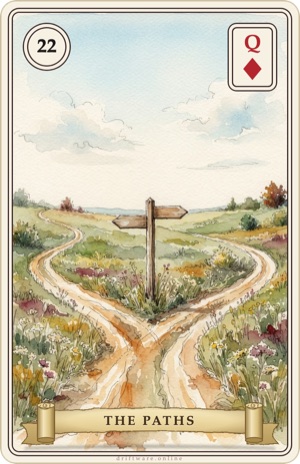
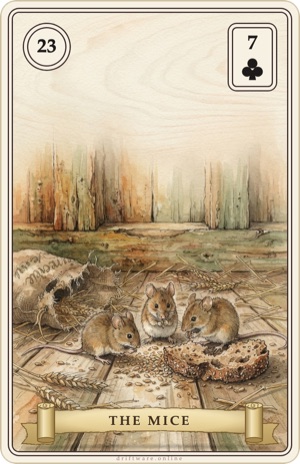
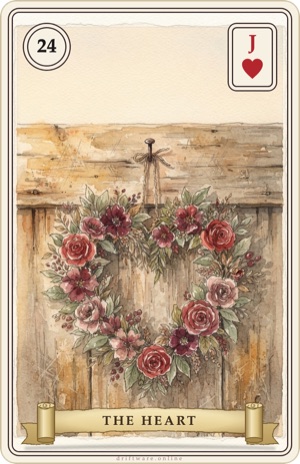
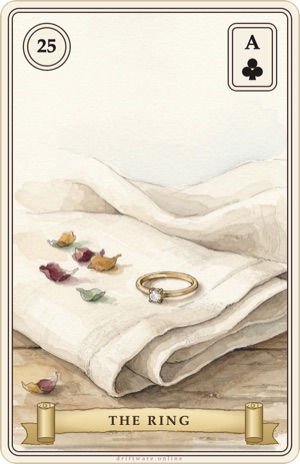
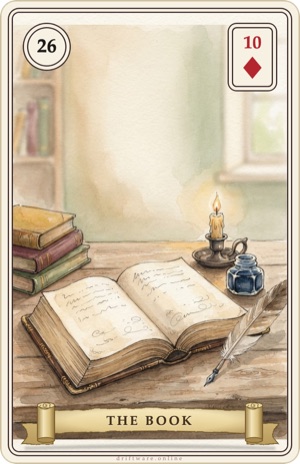
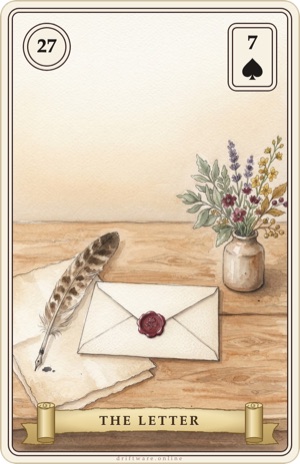
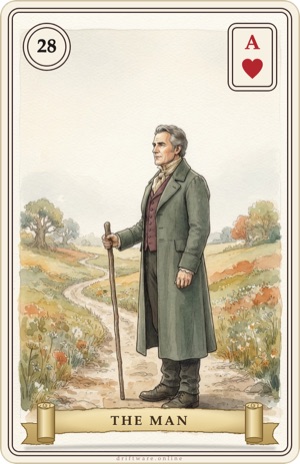
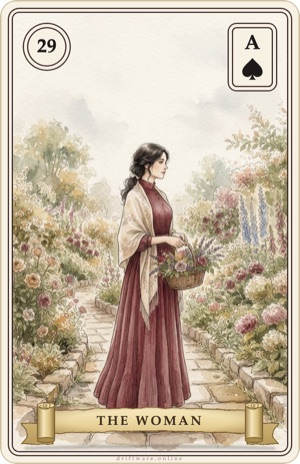
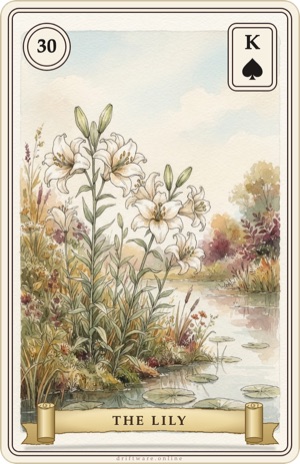
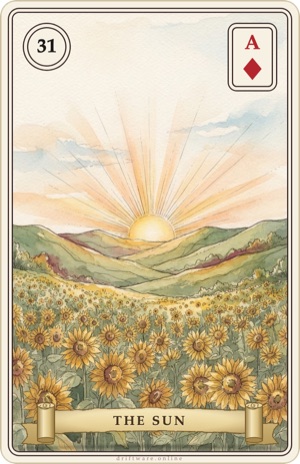
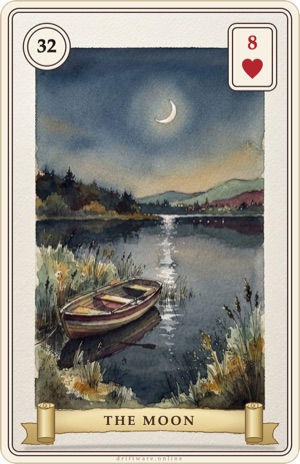
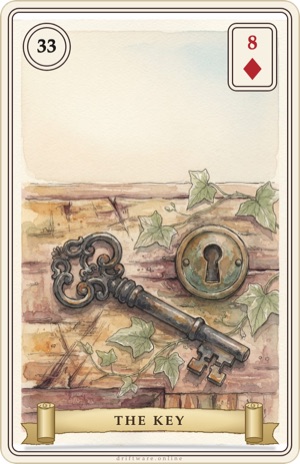
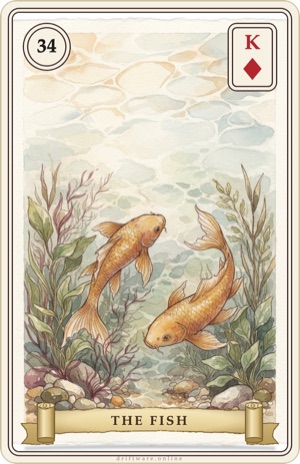
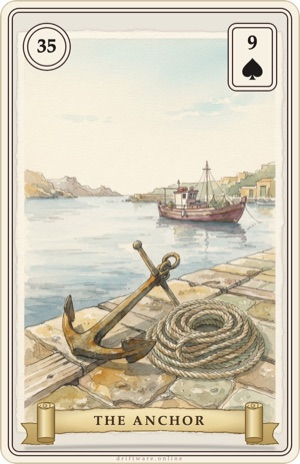
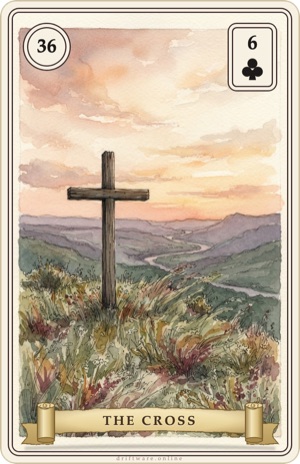
Goes well with the book “Lenormand for Beginners” and the Cartae app. See the book and free sample
Terms of use: You may print the cards for personal use. Passing on, selling and using them for your own card decks is not allowed without permission. © 2026 Driftware. The images were created digitally from our own descriptions and finished with image-editing software.
Questions or found a mistake? [email protected] · Note on the cards · Legal notice